You’re ready to take your home to the next level of convenience and energy efficiency by installing a smart thermostat. But where do you begin? This article will guide you through the process of installing and setting up a smart thermostat in your home, making it easy for you to enjoy the benefits of controlling your home’s temperature with just a few taps on your phone or voice commands. Say goodbye to complicated installations and hello to a smarter, more comfortable home.
Choosing the Right Smart Thermostat
Understanding the Compatibility
When choosing a smart thermostat for your home, it’s essential to consider the compatibility with your HVAC system. Not all smart thermostats work with every heating and cooling system, so it’s important to check the specifications of each thermostat before making a purchase. Compatibility issues can lead to installation difficulties or even render the smart thermostat useless. Look for compatibility information on the manufacturer’s website or consult with a professional to ensure that the smart thermostat you choose is compatible with your HVAC system.
Considering the Features and Options
There are various features and options available in smart thermostats, so it’s important to consider your specific needs and preferences before making a decision. Some smart thermostats offer programmable schedules, energy-saving modes, and voice control options, while others provide advanced features like geofencing and learning algorithms. Think about what features are most important to you and your household. Consider factors such as ease of use, compatibility with other smart home devices, and the ability to monitor and analyze energy usage. Take your time to research different brands and models to find the smart thermostat that suits your needs best.
Comparing Different Brands and Models
With so many different brands and models of smart thermostats on the market, comparing their features, prices, and customer reviews is crucial in making the right choice. Look for reputable brands that have a proven track record in the industry. Consider factors such as ease of installation, user-friendly interfaces, and customer support options. Reading customer reviews can give you valuable insights into the experiences of others who have already installed and used the smart thermostats you are considering. By comparing different brands and models, you will be able to find the perfect smart thermostat for your home.
Gathering the Required Tools and Equipment
Checking the Compatibility with Your HVAC System
Before you begin the installation process, it’s important to double-check the compatibility of the smart thermostat with your HVAC system. Look for compatibility information on the manufacturer’s website or consult with a professional to ensure that the smart thermostat you have chosen is compatible with your HVAC system. This will save you time and frustration during the installation process.
Gathering Necessary Tools
To install a smart thermostat, you will need a few basic tools. These may include a screwdriver, wire strippers, electrical tape, and a level for mounting the backplate on the wall. It’s important to gather all the necessary tools before you begin the installation process to ensure a smooth and efficient installation.
Ensuring a Stable Wi-Fi Connection
Most smart thermostats require a stable Wi-Fi connection to function properly. Before installing the smart thermostat, make sure that your home’s Wi-Fi network is stable and has adequate coverage in the area where the thermostat will be installed. This will ensure that you can take full advantage of the smart thermostat’s features and remote control capabilities.

Preparing Your Home for Installation
Turning Off Power to the HVAC System
To ensure your safety during the installation process, it’s important to turn off the power to your HVAC system. Locate the circuit breaker for your HVAC system and switch it off to cut off the power supply. This will prevent any electrical accidents or damage to the system while you are working on installing the smart thermostat.
Disconnecting the Old Thermostat
If you are replacing an old thermostat, you will need to disconnect it before installing the new smart thermostat. Start by removing the cover of the old thermostat to access the wiring. Carefully disconnect each wire from the terminal screws. Take note of the wire colors and their corresponding terminals, as you will need this information when wiring the new smart thermostat.
Cleaning and Patching the Wall
Once the old thermostat has been disconnected and removed, take the opportunity to clean the area on the wall where the new smart thermostat will be installed. Remove any dust or debris and patch any holes or cracks in the wall if necessary. This will ensure a clean and aesthetically pleasing installation of the smart thermostat.
Installing the Smart Thermostat
Mounting the Backplate on the Wall
Start by holding the backplate of the smart thermostat against the wall in the desired location. Use a level to ensure that it is straight and mark the screw holes on the wall with a pencil. Once the screw holes are marked, drill pilot holes at each marked spot. Secure the backplate to the wall using screws provided with the smart thermostat. Make sure it is securely attached and level before proceeding to the next step.
Wiring the Smart Thermostat
Next, it’s time to wire the smart thermostat. Refer to the manufacturer’s installation instructions and the notes you made when disconnecting the old thermostat to identify which wires go to which terminals on the new smart thermostat. Carefully strip the ends of the wires to expose the copper conductors and insert each wire into the corresponding terminal on the smart thermostat. Follow any specific wiring instructions provided by the manufacturer for your particular model.
Attaching the Thermostat to the Backplate
Once the wiring is complete, gently push the smart thermostat onto the backplate until it clicks into place. Ensure that it is securely attached and aligned properly. Double-check that all the wires are connected correctly and securely. If everything looks good, proceed to the next step.
Setting Up the Smart Thermostat
Turning on the HVAC System’s Power
Now it’s time to turn the power back on to your HVAC system. Locate the circuit breaker for your HVAC system and switch it back on. This will restore power to the system and allow the smart thermostat to communicate with it.
Connecting the Thermostat to the Wi-Fi
To take full advantage of the smart features of your new thermostat, you will need to connect it to your home’s Wi-Fi network. Refer to the manufacturer’s instructions on how to connect the thermostat to the Wi-Fi. Usually, this involves accessing the thermostat’s settings menu, selecting the Wi-Fi network, and entering the network’s password. Follow the prompts on the thermostat’s display to establish a connection with your Wi-Fi network.
Following the Manufacturer’s Installation Instructions
To ensure that your smart thermostat is properly set up and functioning correctly, it’s crucial to carefully follow the manufacturer’s installation instructions. These instructions may include additional steps specific to your particular smart thermostat model. Take the time to read and understand the instructions before proceeding with the setup process.
Configuring Thermostat Settings
Setting the Date and Time
Once the smart thermostat is connected to Wi-Fi and powered on, it’s important to set the correct date and time. This information is crucial for accurate scheduling and temperature control. Refer to the manufacturer’s instructions on how to access the thermostat’s settings menu and navigate to the date and time settings. Follow the prompts to set the correct date and time accordingly.
Adjusting the Temperature Preferences
Every home has different temperature preferences, so it’s important to adjust the temperature settings on your smart thermostat to suit your needs. Most smart thermostats allow you to set specific temperature ranges for different times of the day. Consider factors such as the time you wake up, leave for work, return home, and go to bed. Adjust the temperature settings accordingly to ensure optimal comfort and energy efficiency.
Creating a Heating/Cooling Schedule
One of the main advantages of a smart thermostat is the ability to create a heating/cooling schedule based on your daily routine. Take advantage of this feature by creating a schedule that aligns with your lifestyle and preferences. Consider the times when you typically need heating or cooling and set the thermostat to automatically adjust the temperature accordingly. Creating a schedule will help you save energy and money by avoiding unnecessary heating or cooling when you’re not at home.
Connecting the Smart Thermostat to Other Devices
Connecting to Voice Assistants
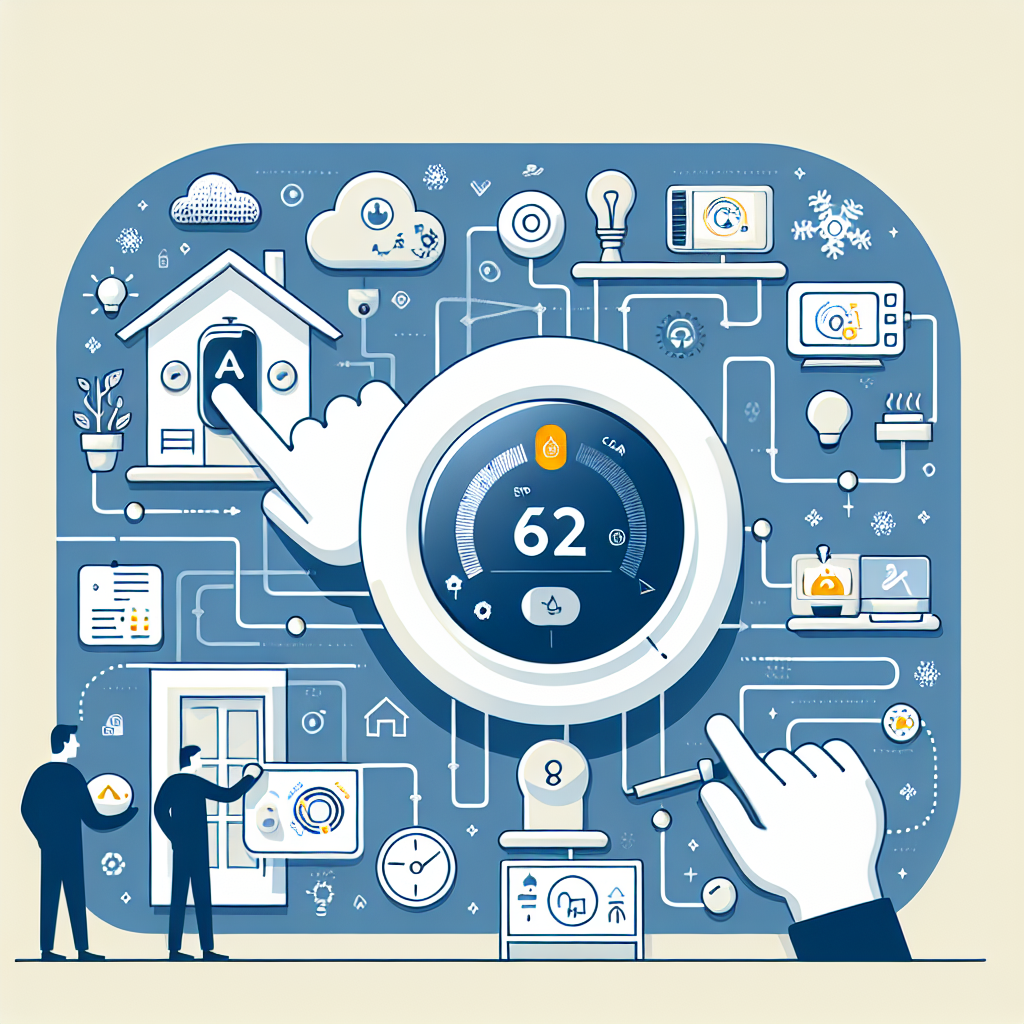
If you have voice assistant devices like Amazon Alexa or Google Assistant, it’s possible to connect your smart thermostat for seamless voice control. Refer to the manufacturer’s instructions on how to link your smart thermostat with your voice assistant device. Once connected, you can control the temperature, change settings, and even create voice-activated routines for your smart thermostat.
Integrating with Smart Home Systems
If you have a smart home system in place, it’s worth considering integrating your smart thermostat with other smart devices like lights and door locks. This allows for a more holistic approach to home automation, where various devices can work together to enhance convenience, security, and energy efficiency. Consult the manufacturer’s instructions and follow the setup process to integrate your smart thermostat with your existing smart home system.
Syncing with Mobile Applications
Most smart thermostat brands offer dedicated mobile applications that allow you to control and monitor your thermostat remotely. These applications often provide additional features and functionalities, including energy usage reports, temperature alerts, and the ability to adjust settings from anywhere using your smartphone or tablet. Download the relevant mobile application for your smart thermostat and follow the instructions to sync it with your device.
Understanding and Utilizing Advanced Features
Using Geofencing to Optimize Energy Efficiency
Geofencing is an advanced feature available in some smart thermostats that utilizes your smartphone’s GPS to track your location. By setting a virtual boundary around your home, the smart thermostat can detect when you are approaching or leaving and adjust the temperature accordingly. This helps optimize energy efficiency by avoiding unnecessary heating or cooling when you are not at home. Check if your smart thermostat has geofencing capabilities and follow the manufacturer’s instructions to set it up.
Utilizing Learning Algorithms for Automated Adjustments
Some smart thermostats are equipped with learning algorithms that can analyze your temperature preferences and adjust the settings automatically based on your habits and routines. These smart thermostats learn your schedule over time and make adjustments to ensure optimal comfort and energy efficiency without requiring manual input. Explore the options available on your smart thermostat to enable and customize these learning algorithms.
Monitoring and Analyzing Energy Usage
One of the key benefits of a smart thermostat is the ability to monitor and analyze your energy usage. Many smart thermostats provide detailed energy reports that allow you to see how much energy you are using and identify opportunities for improvement. Take advantage of these reports to make informed decisions about your energy usage, adjust your temperature settings, and ultimately save on your utility bills.
Troubleshooting and Maintenance
Identifying Common Installation Issues
If you encounter any issues during the installation process, it’s important to troubleshoot and identify the problem. Common installation issues may include wiring errors, compatibility issues, or Wi-Fi connection problems. Refer to the manufacturer’s troubleshooting guide or consult with a professional if you are unsure how to resolve the issue. It’s better to address any problems early on to ensure the proper functioning of your smart thermostat.
Resetting the Thermostat
If you need to reset your smart thermostat for any reason, refer to the manufacturer’s instructions on how to perform a factory reset. This will restore the thermostat to its default settings, allowing you to start afresh if you encounter any issues or need to make significant changes to the configuration. Keep in mind that resetting the thermostat will erase any customized settings or schedules you have established.
Performing Regular Maintenance Checks
To keep your smart thermostat functioning optimally, it’s important to perform regular maintenance checks. This may include cleaning the thermostat’s display, checking for any loose wiring connections, and ensuring that the firmware is up to date. Refer to the manufacturer’s instructions for specific maintenance recommendations and follow them accordingly. Regular maintenance checks will help prolong the lifespan of your smart thermostat and ensure its efficient operation.
Maximizing Energy Efficiency
Learning Energy-Saving Tips and Techniques
In addition to the features and capabilities of your smart thermostat, there are other energy-saving tips and techniques you can implement to maximize energy efficiency in your home. These may include adjusting temperature settings when you’re away, using natural ventilation, upgrading insulation, and utilizing energy-efficient appliances. Educate yourself on energy-saving practices and incorporate them into your daily routine to reduce your environmental impact and save on energy costs.
Utilizing Smart Thermostat Features for Optimal Efficiency
To maximize energy efficiency, take full advantage of the smart features available in your smart thermostat. Set up energy-saving modes, utilize programmable schedules, and leverage the learning algorithms to ensure that your heating and cooling are optimized for energy efficiency. Regularly monitor and adjust your settings as needed to find the balance between comfort and energy conservation.
Monitoring and Analyzing Energy Usage Data
Regularly review and analyze the energy usage data provided by your smart thermostat. This data can give you insights into your heating and cooling patterns, allowing you to identify opportunities for improvement. Look for patterns of high energy usage and consider making adjustments to your temperature settings or scheduling to reduce consumption. Monitoring and analyzing energy usage data empowers you to make informed decisions about your heating and cooling habits and optimize energy efficiency in your home.
In conclusion, installing and setting up a smart thermostat in your home can bring numerous benefits, including increased comfort, convenience, and energy efficiency. By understanding the compatibility with your HVAC system, considering the features and options available, and comparing different brands and models, you can choose the right smart thermostat for your needs. Gathering the necessary tools and equipment, preparing your home for installation, and following the manufacturer’s instructions will ensure a successful installation process. Once installed, take the time to configure the thermostat settings, explore advanced features, and connect it to other devices for enhanced control and automation. Regular troubleshooting, maintenance, and maximizing energy efficiency will ensure the long-term performance and benefits of your smart thermostat. Enjoy the comfort, convenience, and energy savings brought by your new smart thermostat!
